
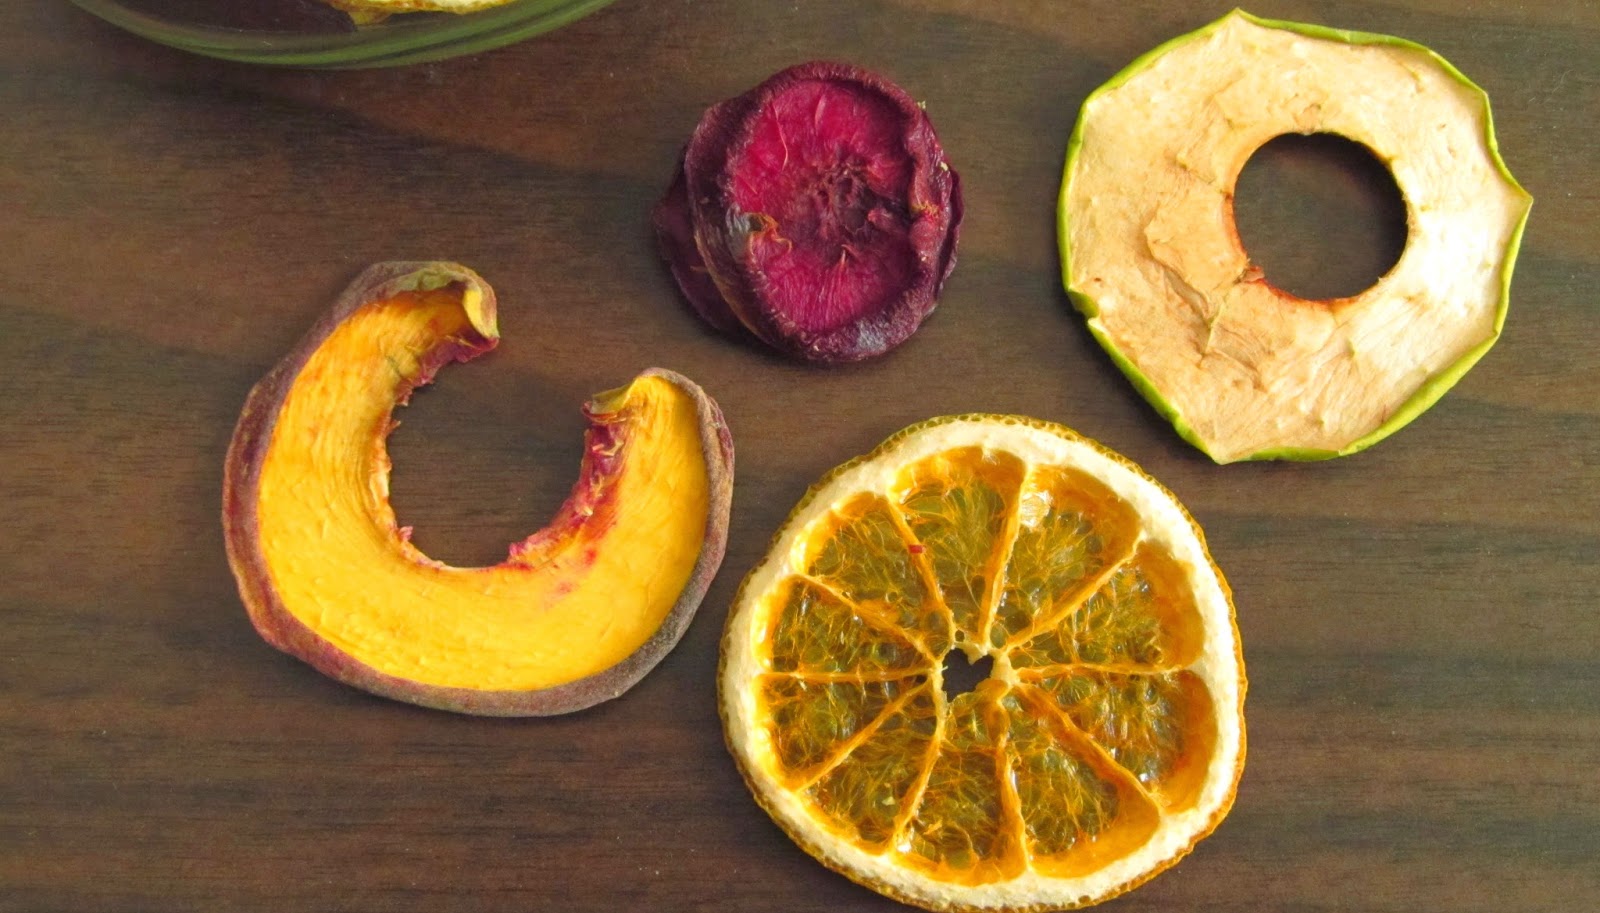
Recently, we've been up to our elbows in delicious, local fruit. Many neighbors have offered us a share of their beautiful fruit trees' harvests. Besides devouring fresh fruit, and canning a little bit, we've dehydrated.
Dehydrating does an excellent job of reducing the bulk and weight of produce, without destroying nutrients, as cooking can. And, I was quite surprised to see it; home-dehydrated fruit keeps its color beautifully, without anything at all added to preserve it.
When there's just not enough time in the day to can it all, it's time to break out the dehydrator. Ours is an old model, very 80's with it's wood-look exterior, quite roomy and in mint condition.
In contrast to canning, the whole process was very meditative. It was just chopping the fruit, placing it carefully spaced on the trays, and flipping the switch to "on".
After that, just let the machine hum quietly the next day or two, until the produce is fully dry; it'll be either crisp and snap when bent, or leathery, depending on the type of fruit.
Apples, peaches, and oranges were crisp, where plums, bananas, and grapes stayed leathery.

Dehydrating food may not be as glamorous as putting up jewel-colored, canned preserves, but nevertheless is an exceptional way to store food for the long term safely.
Anyone can do this; it's just so easy. The key is to get the freshest produce, then follow these steps:

First, start on a warm, dry day (this will help speed the process).
Gather the best produce you can find.

Apples, grapes, oranges,

plums, and peaches all work well.

Slice, place on dehydrator racks, and set machine to run.
After fully dry, store the bounty, in glass or pottery (plastic will flavor the food) and enjoy the peace of mind that comes with preserving quality food.

Further reading: see Mary Bell's Complete Dehydrator Cookbook ,
a selection from my canning & preserving book list.


